A leaking pipe at 11pm is one of those home emergencies that separates people who know what they're doing from people who don't. The ones who don't either panic and call an emergency plumber (expensive), or they ignore it until the morning (potentially very expensive). The ones who do know what they're doing stop the leak, assess the situation, and fix it properly — often without calling anyone at all.
This guide covers both scenarios: what to do right now if water is actively coming out, and how to make a proper repair once you've bought yourself some time.
Step 1 — Stop the water first, ask questions later
Before you diagnose anything, stop the water supply. Don't waste time trying to figure out where the leak is coming from while water is actively spreading.
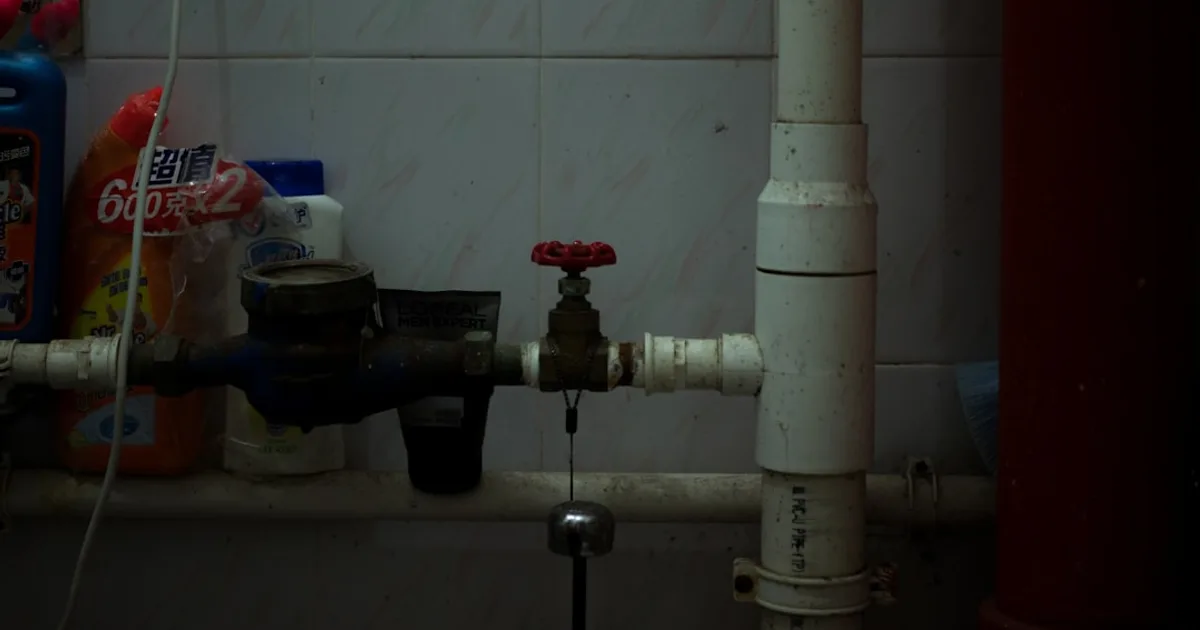
Find your stopcock — the main water shut-off valve for your home, usually in the kitchen where a leak can do the most damage to flooring and cabinets. In most houses it's under the kitchen sink, near the water meter, or where the supply pipe enters the building. Turn it clockwise until it stops. Water should slow and stop within a minute or two as pressure drops.
If you can't find the main stopcock, or if it's seized and won't turn (common in older homes), look for isolation valves on the specific pipe — small inline valves with a flat-head screw slot. A quarter turn closes them.
Once the water is off, open a tap downstairs to drain pressure from the system. This is important — it stops water continuing to trickle from the damaged section even after you've closed the supply.
Don't skip this step. Working on a pressurized pipe is dangerous and pointless. Everything else comes after the water is off.
Step 2 — Identify what type of leak you're dealing with
Not all pipe leaks are the same, and the fix depends entirely on what's failed. Take a few minutes to actually look at what's happening before reaching for tools.
Joint leak: Water is coming from where two pipes connect, or where a pipe meets a fitting. This is the most common type. The joint has either worked loose over time, the sealant has failed, or the compression fitting was never tightened properly to begin with.
Pipe body crack or pinhole: The pipe itself has failed — either a stress crack, a corrosion pinhole (common in older copper pipes), or a freeze crack if the pipe was exposed to freezing temperatures. These are less common than joint leaks but more serious.
Fitting or valve failure: The leak is coming from a valve, tap body, or appliance connection rather than the pipe itself. Sometimes the valve just needs tightening; sometimes it needs replacing.
Visible corrosion: Green or white deposits around copper or brass fittings indicate ongoing moisture and mineral buildup — often the first sign that a joint needs attention before it becomes an active leak. The leak may be slow but the underlying issue is corrosion, not just a loose fitting.
Dry the area with a cloth before inspecting — it's much easier to see exactly where water is originating when the surrounding pipe is dry.
Step 3 — Temporary fixes to buy yourself time
If you can't make a permanent repair immediately — wrong parts, middle of the night, waiting for a plumber — there are temporary solutions that will hold for hours or days.
Pipe repair tape (self-amalgamating tape): This is the most useful thing you can have in a toolbox. It's a silicone tape that bonds to itself under pressure, creating a watertight seal around a leak. Wrap it tightly around the affected area, stretching as you go, overlapping each layer by half. It works on pipes under pressure, on bends, and in awkward spots. It won't fix a serious crack permanently, but it will hold.
Pipe repair clamp: A metal clamp with a rubber gasket that bolts around a leaking pipe. Takes about two minutes to fit, handles reasonable pressure, and is available at any hardware store. Good for pinhole leaks and small cracks on straight pipe runs.
Epoxy putty: Two-part putty that you knead together and press over the leak. It cures hard in 20–30 minutes and creates a solid waterproof patch. Works well on copper and plastic pipe. Not ideal for joints or areas that flex.
All of these are temporary. They buy time. Don't leave any of them as a permanent solution — especially in walls or under floors where you won't notice when they eventually fail. A slow leak under the dishwasher is exactly the scenario where kitchen laminate flooring swells permanently while tile would survive unscathed.
Step 4 — Making a permanent repair
The permanent fix depends on what type of pipe you have and what's failed. The three most common scenarios in a typical home:
Loose or failed compression fitting
Compression fittings use a brass ring (called an olive) squeezed between the fitting body and a nut to create a seal. They can leak if the nut has vibrated loose or if the olive was damaged during installation.
First, try simply tightening the nut a quarter turn with an adjustable spanner. Often that's all it needs. If it's already tight and still leaking, the olive has likely deformed or the fitting itself is cracked — in which case the whole fitting needs replacing.
To replace: undo both nuts, slide them back along the pipe, and the fitting will come free. Inspect the olives — if they're deformed, cut them off and use new ones. Reassemble with new olives, tighten the nuts firmly (hand tight plus one full turn with a spanner), and test.
Soldered copper joint failure
Soldered joints that have failed need to be re-soldered. This requires a blowtorch, flux, and solder — and some practice if you haven't done it before.
Drain the pipe completely and dry it thoroughly — water in the pipe will prevent the solder from flowing properly and the joint will fail again. Clean the pipe end and fitting socket with wire wool until bright. Apply flux to both surfaces. Heat the fitting (not the pipe directly) until the flux bubbles and the solder flows freely into the joint when touched to the edge. Let it cool without moving.
If you're not comfortable with a blowtorch, push-fit fittings (like Speedfit or SharkBite) are a legitimate alternative that require no tools and no heat. Cut out the failed section of pipe, insert the push-fit fitting, and it's done. They're more expensive than solder joints but reliable and reversible.
Plastic push-fit fitting failure
Modern plastic plumbing — the white or grey push-fit systems common in newer homes — can fail if the pipe wasn't inserted fully, if the pipe end wasn't cut cleanly and squarely, or if the grab ring inside the fitting has worn.
Check that the pipe is pushed fully home — there's usually a depth gauge mark on the pipe end. If the fitting is leaking even with the pipe fully inserted, the fitting needs replacing. Push-fit fittings are not repairable — replace the whole fitting.
To remove: use the release collar (a plastic ring around the fitting entry) — press it against the fitting body while simultaneously pulling the pipe. It takes a firm, steady pull rather than a jerk.
Step 5 — Test before you call it done
Once you've made your repair, don't just turn the water back on and walk away.
Turn the stopcock back on slowly — not all at once. Let pressure build gradually. Watch the repair point closely for the first minute. Feel around joints and fittings with a dry hand or a piece of dry tissue paper — you'll feel any moisture immediately.
Run water through the pipe for several minutes. Check again. If the repair holds dry after five minutes of active use, it's solid.
If it's still weeping slightly, don't just leave it hoping it'll seal itself. It won't. Either tighten the fitting further (for compression joints), or take the repair apart and start again — something wasn't quite right the first time.
When to call a plumber
There's no shame in calling a professional. Some situations genuinely warrant it:
The leak is inside a wall or under a concrete floor. The pipe is part of a heating system or gas line (never DIY gas). The stopcock itself is leaking or seized. You've attempted the repair twice and it's still weeping. There's visible corrosion across a long section of pipe suggesting systemic deterioration rather than a single failure point.
A good plumber will fix a straightforward pipe leak in under an hour. Until then, knowing how to stop water fast is as practical as knowing which kitchen floor can handle the mess when something does go wrong. Emergency call-out rates are painful — exactly the kind of surprise expense an emergency fund is meant to absorb — but if you've stopped the water and the situation is stable, a next-day appointment is almost always fine.
The ability to stop a leak and make a temporary repair confidently is what buys you that time — and often saves you a significant amount of money in the process, one of the practical ways to save money every month without cutting back elsewhere.